-
Who This Is For
-
Step 1: Lock Down the Exact Part Number
-
Step 2: Check Software and Driver Compatibility Before You Buy
-
Step 3: Verify the Calibration Certificate and Due Date
-
Step 4: Inspect Physical Condition and Accessories
-
Step 5: Look at Total System Cost, Not the Module Price
-
Step 6: Do an Acceptance Test Before You Sign Anything
-
Common Mistakes Worth Avoiding
-
Bottom Line
If you're about to buy National Instruments hardware—or you're trying to speed up an internal review—pull up this list. I'm the person responsible for approving test equipment before it lands on our line. I review 150+ items a year. In Q1 2024, I rejected 8% of first deliveries because of calibration issues, missing drivers, or the wrong module for the application.
This checklist won't make you an NI expert. It will stop you from making the expensive mistakes I've already made for you.
Who This Is For
Use this if any of these sound like you:
- You're specifying an NI data logger or DAQ system for a new test stand.
- You're buying a new digital multimeter (DMM) module from NI.
- You're updating software or drivers for an existing NI system.
- You're evaluating a used module from a reseller.
If you only need a cheap handheld multimeter, you can stop reading. If you need a modular, software-connected instrument, keep going.
Step 1: Lock Down the Exact Part Number
NI sells systems, not just boxes. The part number matters more than the family name. For example, the NI-9214 and NI-9215 look similar in a brochure, but one's a thermocouple input module and the other is an analog voltage input module. Mixing those up in a design review isn't just an embarrassment; it's a reorder and a delay.
Don't assume 'NI data logger' is one SKU. It's a chassis, a controller, a stack of modules, cables, and terminal blocks. Write down every part number before requesting a quote. A 32-channel system might need two 16-channel modules or one 32-channel module, and they're not the same price or footprint.
Search the exact part number on ni.com first. Then get a quote.
Step 2: Check Software and Driver Compatibility Before You Buy
This is where the 'national instruments download' part becomes real. Go to the NI software and driver download page before you commit to a module.
NI-DAQmx is the driver that makes most NI hardware appear in your operating system. If you install a new module but your NI-DAQmx version is old, the device may not even show up. I've watched otherwise good engineers spend a full day on that problem.
Check three things:
- The NI-DAQmx version
- The LabVIEW version, if you use LabVIEW
- The Windows or Linux version on the host
NI's compatibility matrix at ni.com/downloads lists which hardware works with which software version. Skip this step and you'll get the 'could not find device' screen on install day.
Step 3: Verify the Calibration Certificate and Due Date
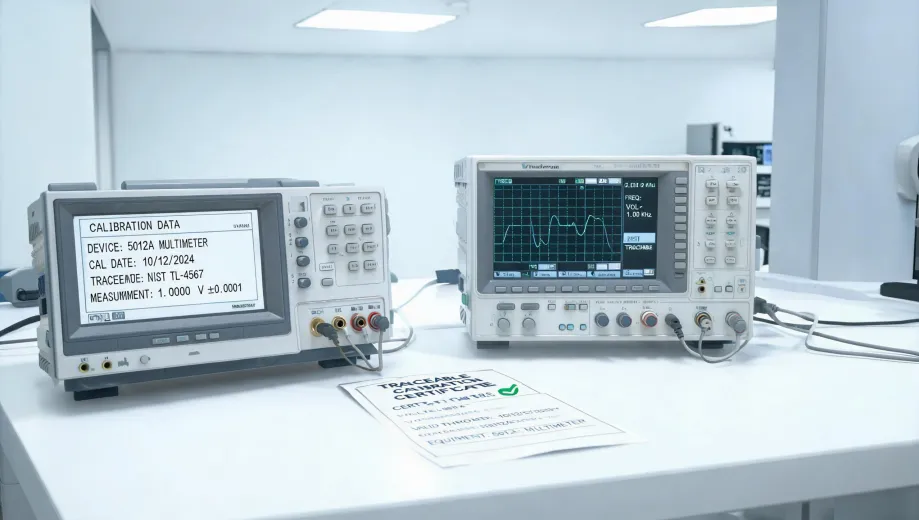
This one is non-negotiable if your data goes into a customer report. Ask for the calibration certificate before purchase, not after. If a reseller won't share it, that's a red flag.
Check the calibration due date on the sticker too. If it expires within 60 days, ask whether the price includes recalibration. For precision digital multimeters and data logger modules, a traceable certificate matters. A datasheet spec is not evidence that this specific unit meets it.
I'll be honest: I assumed 'same specifications' meant identical results across vendors one time. I didn't verify. The NI DMM we tested held accuracy to the last digit after an hour. The cheaper alternative drifted after about 20 minutes. Both datasheets said the same accuracy. The interpretation changed with temperature and time.
Step 4: Inspect Physical Condition and Accessories
Before you mount an NI module in a chassis, look at the connector pins. Bent pins are more common than you'd think. Also check the slot keys on a PXI backplane if you're using that form factor.
Check that cables, terminal blocks, screws, and connector kits are all in the package. NI modules often ship without a cable, or include a specific connector style you didn't expect. That adds a lead time visit to your schedule.
If you're landing field wiring, read the manual for torque specs. Overtightening a screw-terminal connector is a small mistake with big consequences. (Speaking from experience, unfortunately.)
Step 5: Look at Total System Cost, Not the Module Price
The module price is the teaser rate. If you're starting from zero, you need a chassis, a controller, LabVIEW if you go that route, and the module. Then you add cables and a breakout box. The gap between 'module cost' and 'system cost' is where project budgets die.
To be fair, I've been on the fence between a cheaper non-NI system and NI. The NI system cost more on paper. But our team already knew LabVIEW, and the integration time saved was worth more than the hardware savings. That's a real economic argument, not a brand loyalty one.
Also check whether the quote includes calibration and any support contract. Annual support adds maybe 15-20% depending on the agreement, but if you can't call someone when a test stalls, that's a gamble. I'd rather pay for reachability than explain to my boss why a production line is quiet.
Step 6: Do an Acceptance Test Before You Sign Anything
Have a 'what good looks like' list ready before the box arrives. Don't sign the packing slip and send the module straight to the lab. That's how small issues become arguments.
Here's a minimum acceptance routine:
- Connect the module to a known-good chassis.
- Open NI MAX and confirm the device enumerates with the correct serial number and firmware version.
- Run a basic measurement. For a thermocouple module, read room temperature with a known cold-junction reference. For a DMM, use a known voltage source or resistor.
- If the readings look off, check whether the module needs a zero or shunt calibration.
Once it passes, log the serial number and calibration date in your asset system. Ten minutes of record keeping saves hours when audit season comes around.
One side note: if your acceptance check involves physical dimensions, you'll probably grab a caliper. This is where the 'where are Starrett calipers made' question comes up. It depends on the model—many are made in Brazil or China, while the U.S. plant handles other precision tools. That doesn't make them bad. What matters is whether the caliper has a current calibration and whether it's appropriate for the tolerance you're measuring. The inspection sticker is more important than the country of origin.
Common Mistakes Worth Avoiding
Firmware updates are one of those things that sounds like good maintenance until it isn't. I once updated a module because the new firmware package promised new features. The install required a chassis power cycle, and I skipped the post-update verification because I was in a hurry. The module didn't enumerate until we flashed it twice. Now my rule is simple: update only when you need a specific fix, and always verify device enumeration afterward.
Another mistake is assuming 'NI compatibility' means any version of software. It doesn't. NI-DAQmx and LabVIEW versions are part of the compatibility equation. Compare them every time.
And don't confuse high sample rate with accuracy. A data logger with 1 MS/s isn't automatically more accurate than a DMM. If your requirement is precise 16-bit voltage measurement, a DMM module might be the right choice, not a fast digitizer.
Bottom Line
National Instruments products are genuinely modular, and that's both the appeal and the risk. A system is only as good as the part number, the driver version, the calibration cert, and the acceptance test. Work through this checklist and you'll catch most problems before they cost you a week.
Software versions and prices change, so verify current details at ni.com/downloads and on the product pages. This article is a sanity check, not a substitute for official documentation.