-
Three Levels of Measurement Risk
-
Level 1: How to Test a Capacitor with a Multimeter (and When That's Enough)
- Level 2: When You Need a National Instruments Thermocouple Module
- Level 3: Regulated Environments—Centrifuges and Pipette Calibration
-
How to Know Which Level You're In
-
The Tools Change, But the Discipline Doesn't
When I first started working in quality, I made a fairly embarrassing assumption. I thought measurement accuracy was just a matter of buying expensive equipment. The more you spend, the better your data. Right?
Three years and roughly 200 product reviews later, I've learned it's not that simple. Accuracy is about matching your approach to the risk. A $40 multimeter can be the right tool for one job, and a National Instruments thermocouple module can be the bare minimum for another. The difference isn't the price tag. It's what's at stake.
The question I get most often—not just from engineers but from lab managers and technicians who are tired of conflicting advice—is this: how much measurement rigor do I actually need?
There's no single answer. But there is a way to figure it out. I think of it as three distinct levels, and each one has its own tools, its own standards, and its own failure modes.
Three Levels of Measurement Risk
Before I get into specifics, let me give you the framework. I've been reviewing products as a quality and brand compliance manager for over four years, and I keep seeing the same pattern: people either overbuy precision they don't need, or underbuy and pay for it later. The way to avoid both is to classify your work by risk.
- Level 1 — Troubleshooting: You need to know if something is working or broken. A go/no-go answer is enough.
- Level 2 — Automated measurement: You need repeatable, documented data across multiple channels or over time. This is where modular data acquisition comes in.
- Level 3 — Regulated quality: Your results have legal, clinical, or financial consequences. Calibration traceability is non-negotiable.
Most measurement advice fails because it treats these three levels as the same thing. They're not.
Level 1: How to Test a Capacitor with a Multimeter (and When That's Enough)
For basic electrical troubleshooting, you don't need a $5,000 instrument. A decent multimeter is not only sufficient—it's often the fastest tool for the job.
Take one of the most common tasks in electronics repair: testing a capacitor with a multimeter. Here's a method that works:
- Disconnect the power. No exceptions. Capacitors can hold a charge long after the circuit is unplugged.
- Discharge the capacitor. Use a resistor (10kΩ, 1W works) across the terminals for a few seconds. Don't short the leads directly—that can damage the capacitor and the multimeter.
- Switch to capacitance mode. If your meter has it, connect the leads and compare the reading to the rated value printed on the capacitor. Within 10% is generally acceptable for electrolytic types.
- No capacitance mode? Use resistance mode. A good capacitor shows low resistance initially, then climbs toward infinity as it charges. If it stays near zero, it's shorted. If the reading doesn't move at all, the capacitor is open.
To be fair, a multimeter won't catch everything. It won't reliably detect internal heating issues, and it won't measure equivalent series resistance (ESR) unless you use a dedicated tester. But for a go/no-go check in the field? It's more than enough.
Here's something most people don't realize: the biggest variable at Level 1 isn't the tool—it's the procedure. I've rejected plenty of products not because they failed testing, but because the test procedure wasn't documented. If two technicians test the same capacitor and get different results, you don't have a measurement problem. You have a procedure problem.
Level 2: When You Need a National Instruments Thermocouple Module
Things get interesting when you need to measure temperature across 20 channels, continuously, for 24 hours, and log it to a file. A multimeter won't cut it. You need a data acquisition system.
This is where National Instruments thermocouple modules come into focus—and where I see the most confusion among engineers making the jump from Level 1 to Level 2.
Why a thermocouple module is different from a multimeter
A thermocouple produces a voltage in the microvolt range. The measurement challenge isn't reading the voltage—it's interpreting it correctly. Two things matter:
- Cold-junction compensation (CJC). A thermocouple measures a temperature difference between its hot junction and the instrument terminals. Without accurate CJC, your reading drifts with the temperature of the electronics. That's why an NI thermocouple module includes an isothermal terminal block and dedicated CJC sensors—not as a feature, but as a fundamental requirement.
- Linearization. Thermocouple output is nonlinear. Converting voltage to temperature requires polynomial curves for each thermocouple type (J, K, T, N, R, S, B). A module like the NI-9212 handles this in hardware and firmware. Doing it manually on raw voltage readings is a recipe for errors.
The practical takeaway: if your temperature tolerance is ±2°C, a measurement system with built-in CJC and linearization—whether it's a CompactDAQ system or a standalone logger—will save you from data quality headaches later.
What a quality inspector looks for
When I evaluate any thermocouple measurement setup, I don't just look at the accuracy spec. I look at three things:
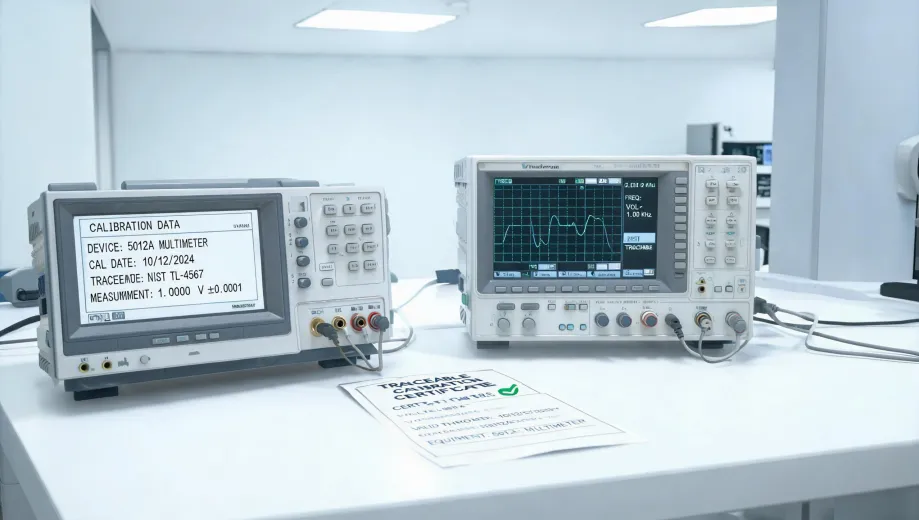
- Calibration traceability. Is the module's calibration certificate traceable to a recognized standard like NIST? If the supplier can't provide this, the accuracy spec is just a number on paper.
- Channel-to-channel alignment. Small offsets between channels are normal in multi-channel systems. But they should be documented—not discovered during a customer audit.
- Genuine product verification. Counterfeit measurement equipment is a real problem in industrial electronics. If you're buying a National Instruments module, verify the National Instruments logo, serial number, and authorized distributor status before you install it.
We once received a batch of 50 thermocouple modules where the stated accuracy spec didn't match the calibration certificate. The vendor claimed it was "within industry standard." We rejected the whole batch, and they redid it at their cost. Now every contract includes explicit calibration traceability requirements.
The risk is real. I remember calculating the worst case on a project where we almost went with a non-certified thermocouple module: a 0.7°C drift on a temperature-sensitive process could have invalidated an entire 8,000-unit batch. The upside was saving maybe $600. Not worth it. The expected value said "buy the certified module," and so did my gut.
Level 3: Regulated Environments—Centrifuges and Pipette Calibration
At the third level, the game changes completely. You're no longer asking "is this measurement good enough?" You're asking "can I defend this measurement if someone audits it?"
This is the world of refrigerated centrifuges, precision pipettes, and accredited calibration programs. If you work in clinical diagnostics, environmental testing, or QA laboratories, this is where you live.
Refrigerated centrifuge verification
Here's what most people don't realize about refrigerated centrifuges: the set temperature is rarely identical to the actual sample temperature under spinning. Air friction and rotor rotation generate heat, which means the sample often runs warmer than the display shows. If your protocol requires 4°C, you need to verify it while spinning, not before the run starts.
The standard approach: load a calibrated temperature probe into a sample tube, run the centrifuge at the set speed for 15 minutes, and record the probe reading. If the actual temperature falls outside ±2°C of spec, the centrifuge needs service. Speed—RPM or RCF—should also be verified with a tachometer.
How to calibrate an Eppendorf pipette
Pipette calibration is one of those tasks that seems straightforward until you do it wrong. Here's the correct procedure, simplified:
- Check for leaks first. If the pipette leaks air, calibration is pointless. Attach a new tip, fill with distilled water, and watch for droplets after 30 seconds.
- Use the gravimetric method. Weigh the dispensed volume of distilled water on a balance that reads to 0.001 g (or 0.0001 g for smaller volumes). One gram of water is approximately 1 mL, but accurate work requires a correction factor for water temperature.
- Test at three volume points. Typically 100%, 50%, and 10% of the pipette's nominal volume. Ten replicates at each point.
- Calculate bias and repeatability. Bias is the difference between the average delivered volume and the set volume. Repeatability is the standard deviation of your ten deliveries. Both must fall within the pipette's specification—or your lab's tighter tolerance.
- Document everything. Date, operator, pipette ID, balance ID, water temperature, and raw data. Per FTC advertising guidelines, performance claims need to be truthful and substantiated. The same principle applies in a lab: if an auditor asks how you know your pipette is accurate, your calibration records are the substantiation.
Look, I'll be the first to admit I've made mistakes here. Looking back, I should have insisted on recording the operator's name on every calibration sheet. At the time, I thought it was overkill. Then a client audit flagged three records with missing signatures, and we had to redo the entire batch of pipettes. If I could redo that decision, I'd have made documentation part of the procedure from day one.
One more point on calibration frequency: the "calibrate everything annually" mindset is shifting. What was best practice in 2020—fixed intervals for every pipette—is gradually giving way to risk-based intervals. A low-use pipette doing non-critical transfers doesn't need monthly calibration. But a high-use pipette in a clinical lab might need quarterly checks. The fundamentals haven't changed; the execution has transformed.
How to Know Which Level You're In
After reviewing measurement setups for over four years, I can tell you most people already know their risk level. They just don't trust themselves enough to act on it. So here's a simple self-check:
- Are you debugging a circuit on a bench and just need to separate "good" from "broken"? That's Level 1. A multimeter and a written procedure are plenty.
- Are you logging data over time, across multiple channels, for a design decision or a customer report? That's Level 2. You need a data acquisition system with proper thermal compensation, traceable calibration, and verified genuine hardware.
- Are your measurements part of a regulated protocol, a clinical study, or a customer contract with acceptance criteria? That's Level 3. Calibration documentation, environmental verification, and audit trails are not optional.
One practical note: if you're sending any instrument out for calibration—a multimeter, a thermocouple module, a temperature probe—pay attention to how it's packed. I've seen equipment arrive at labs with bent connectors and cracked housings because the shipper ignored basic packaging rules. USPS publishes clear dimensional standards for what counts as a letter, a large envelope, or a package (usps.com/businessmail101), and those classifications affect how items are handled in transit. The broader point: standards exist to remove ambiguity, and the same logic applies to your calibration acceptance criteria.
And if you're not sure which level you're in? Start with Level 1 thinking. Ask yourself: what's the worst case if my measurement is wrong? If the answer is "we redo the test," you're probably fine at Level 1. If the answer is "we scrap a batch" or "we recall a product," you need to move up a level.
The Tools Change, But the Discipline Doesn't
I used to think being a quality inspector meant having the best equipment. It doesn't. It means being honest about your risk, documenting your methods, and choosing tools that match the stakes. A $40 multimeter can be perfect for one job. A $4,000 thermocouple module can be necessary for another.
Don't hold me to the exact split, but I'd estimate that a third of the measurement problems I review trace back to procedures, not hardware. The measurement industry has changed dramatically in the last five years—smarter modules, better software, tighter tolerances. But one question still matters above all: how do you know?
If you can answer that, the right level of rigor is probably within reach.