-
Step 1: Start with the 'what and where' question
-
Step 2: Check the brand and logo before ordering
-
Step 3: Sort out software and downloads before the hardware arrives
-
Step 4: How to Use Extech Moisture Meters: A Practical Checklist
-
Step 5: Digital Vernier Calipers: Small Item, Still Need Specs
-
Step 6: Pressure Transmitters: The Spec Sheet Is the Product
-
Receiving Inspection: The Step Everyone Skips
-
A Note on Expertise Boundaries
Here's the thing: if you're reading this because someone dropped an Extech moisture meter on your desk and asked you to 'order a few more, plus a pressure transmitter and a National Instruments DAQ system,' you might be the office administrator for an engineering department. You're not alone.
I've been the office administrator for a 150-person manufacturing plant for 5 years. I manage about $250,000 a year in test and measurement equipment purchases across 12 vendors. I report to both operations and finance, which means I get pulled in when the engineering team needs something fast, but no one wants to fill out the paperwork. Over time I've built a checklist that keeps me from ordering the wrong thing. This one is for anyone who buys test equipment without being a full-time engineer.
Step 1: Start with the 'what and where' question
Before you search for a digital vernier caliper or a pressure transmitter, write down what's actually being measured. The same item name can cover completely different devices. An Extech moisture meter can be pin-type, pinless, or both. A pressure transmitter can output 4-20mA, 0-10V, or a digital signal. If you only copy the model number from an old purchase order, you might end up with the right product family but the wrong configuration.
Three questions to ask whoever sent the request:
- What are we measuring? (moisture, pressure, dimensions, electrical signals)
- Where will it be used? (factory floor, lab, outdoors)
- Who will install and maintain it? (engineers, techs, or outside contractors)
Checkpoint: you should be able to write one sentence like 'we need a moisture meter for checking shipping cartons before loading.' If the request says 'a National Instruments thing for tests,' ask for the part number or a link to the product page.
Step 2: Check the brand and logo before ordering
National Instruments has been around for decades. The company now goes by NI on many products, though you'll still see 'National Instruments' as the legal name. If you're buying new, a quick look at the official brand page will show you the current logo. In my experience, it's worth checking because the NI logo gets copied on marketplace listings, and a used 'National Instruments' module without a serial number label is a leap of faith.
When you're on a supplier site, search for 'national instruments logo' or 'NI logo' to compare. On the device, there should be a nameplate with the NI brand, a part number, and a serial number. If a listing only has the name in the description but no photo of the label, I treat it as suspicious.
Checkpoint: verify that the product page shows the manufacturer brand and product number. If it feels off, ask for a photo of the label before you commit.
Step 3: Sort out software and downloads before the hardware arrives
This is the step most non-technical buyers forget. National Instruments hardware often needs drivers and software installed first. The official National Instruments downloads page has the drivers, but if you're not sure which one to choose, ask. For a data acquisition (DAQ) device, the engineer will probably want NI-DAQmx. For LabVIEW licenses, you need to know which version is currently in use at your site.
I learned this the hard way. We bought a used NI module, plugged it into a computer, and nothing happened. The driver wasn't installed, and the software version was too old for the hardware. After that, I add 'check NI downloads' to every purchase request that involves NI hardware.
Checkpoint: before placing the order, ask the requestor to name the exact software driver or package they need. Keep that note with the purchase order.
Step 4: How to Use Extech Moisture Meters: A Practical Checklist
This is for the most common situation: a request for an Extech moisture meter, no instructions included. The exact controls vary by model, but most Extech moisture meters follow the same workflow.
- Power it on. Wait for any self-test or calibration message to clear. Some models display a target or 'CAL' during startup. If the reading jumps around, let it settle.
- Select the material setting, if your model has one. Wood, drywall, and concrete have different reference scales. Choosing the wrong mode can make a good material look wet.
- Take a measurement. If it's a pin-type moisture meter, press the pins into the material. If it's pinless, hold the sensor flat against the surface and keep it still.
- Read the number. This is usually a reference measurement, not an exact moisture percentage. It is useful for comparing one location to another, not for a lab report.
- Test several spots. Moisture is rarely uniform. Take at least three readings in different areas before you decide whether the material is dry or wet.
- Turn it off and clean the pins. A dry cloth is usually enough. If the unit will sit in a drawer for months, remove the battery so the contacts don't corrode.
Why does this matter? Because a moisture meter is a comparative tool. If you don't know how to use it correctly, you'll end up chasing false positives or missing a real leak.
Step 5: Digital Vernier Calipers: Small Item, Still Need Specs
A digital vernier caliper seems like an easy buy. It isn't. I've bought calipers that didn't zero correctly, had no calibration certificate, and one that arrived with a dead battery in a sealed plastic sleeve.
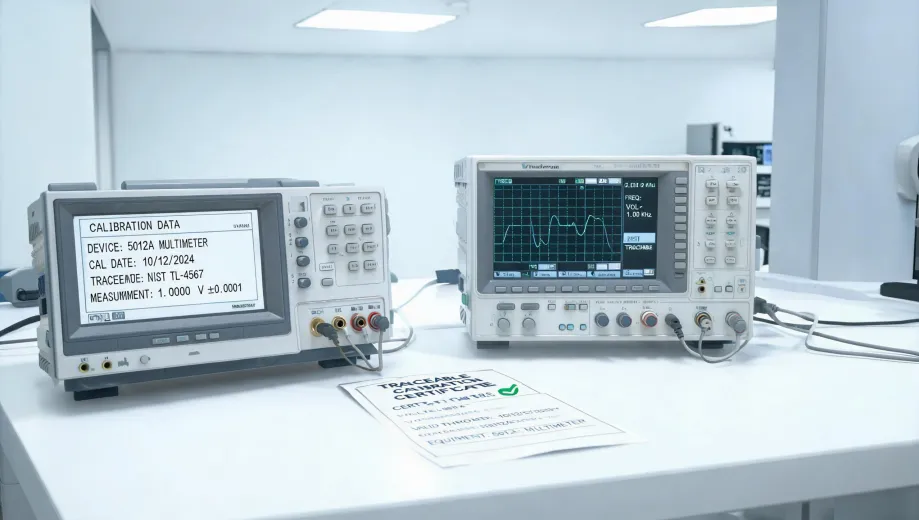
For most machine-shop work, a caliper with 0.01 mm resolution and a 150 mm range is a safe default. If the team uses imperial units, look for a model that switches between inch and metric. And if the readings will be used for quality records, ask whether the unit comes with a certificate or has a calibration sticker. NIST-traceable calibration is not automatically included at the accessory price.
On the last caliper order, I went back and forth for a day over the calibration certificate. It added $45 to a $35 tool, which felt absurd. The engineer finally said the certificate was required for their customer audit, so I ordered it. Ask first.
Checkpoint: include the resolution, range, and calibration requirement in your purchase note, even for a small item.
Step 6: Pressure Transmitters: The Spec Sheet Is the Product
Pressure transmitters are where the buyer can really get burned. Two units can look identical and behave differently because one has a 4-20 mA output and the other has a 0-10 V output. Spend the extra two minutes collecting these specs:
- Pressure range (for example, 0-100 psi, 0-1 MPa)
- Output signal (4-20 mA, 0-10 V, digital)
- Accuracy rating (0.5%, 0.25%, etc.)
- Process connection (NPT, BSP, flange, etc.)
- Electrical connection and supply voltage
- Temperature and environment rating
I once signed off on a pressure transmitter without checking the process connection. The thread didn't match the existing adapter, and the installer stood there with a fitting in one hand and a very cynical expression on his face. Now I send the spec sheet to the installing team before I order.
Checkpoint: if the request doesn't include a datasheet, get one. Ask the engineer to highlight the process connection and output signal.
Receiving Inspection: The Step Everyone Skips
When the package arrives, don't just hand it to the person who requested it. Take five minutes to open the box and verify the brand, part number, and condition. For a National Instruments device, this is when you confirm the NI logo and serial number match the order. For an Extech moisture meter, check the sensor face and pins. For a caliper, close the jaws and see if the display reads zero.
I still kick myself for a receiver who signed off on a pressure transmitter missing the mating connector. The box was intact and the paperwork was fine, but the connector wasn't in the carton. Because it was signed off as 'received,' the supplier treated it as an optional accessory dispute. Get it in writing on the packing slip before you sign.
A Note on Expertise Boundaries
Real talk: I'm not a metrologist. This gets into calibration and uncertainty territory, which isn't my expertise. What I can tell you from a purchasing perspective is how to verify the paperwork, confirm the brand, and make sure the right technical questions were asked before money changed hands.
If you're in the same position, don't try to answer engineering questions. The vendor who tells you 'this spec is outside what I usually sell, so I'd ask an application engineer' is more trustworthy than the one who answers everything with 'yes, that's the right one.' Knowing your lane is not a weakness.
The next time someone asks you to order a test item, run the checklist: know what's being measured, confirm the brand and logo, figure out the software downloads, understand the device's basic use, and nail down the specs. It will save you the awkward call where you explain why the equipment doesn't fit the test stand.